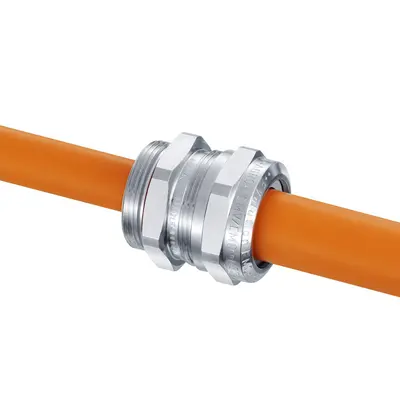
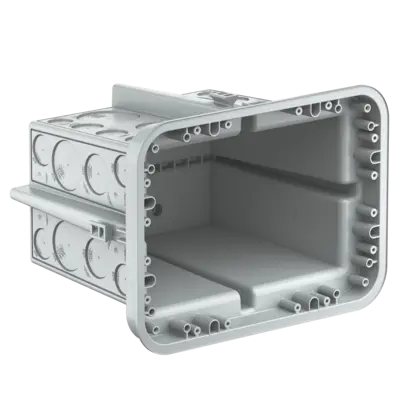
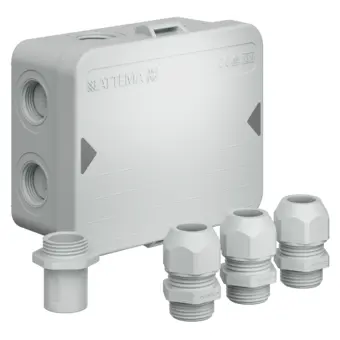
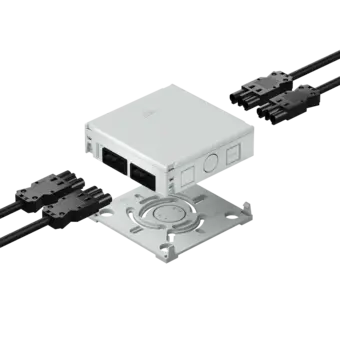









AGRO Wood System.

Electrical installations in mass production, timber construction and modular construction.

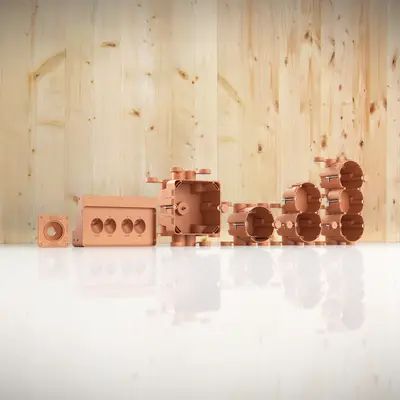
The use of prefabricated timber panels in building construction is booming, and with it, the demand for well-designed, time-saving solutions to facilitate electrical installation work. This is where the new AGRO Wood system comes in. The products are

perfectly tailored to timber frame construction, helping to maximise efficiency in panel prefabrication and on the construction site.

    • Timber construction methods
      A distinction is made between timber frame construction (e.g. prefabricated house or modular construction) and solid timber construction (in which the components fulfil aesthetic, load-bearing and building-physics functions). 
    • Product requirements
      The electrical installation products must be designed to suit the manufacturing of prefabricated panels while also complying with applicable building standards. 
    • Building-physics considerations
      Airtightness, fire protection, sound insulation and moisture protection must not be compromised by prefabricated electrical installation components.
    • In-built electrical installation boxes and enclosures
      These are selected based on their intended use (e.g. switches, sockets, network connections) and the space required by associated cables and components.
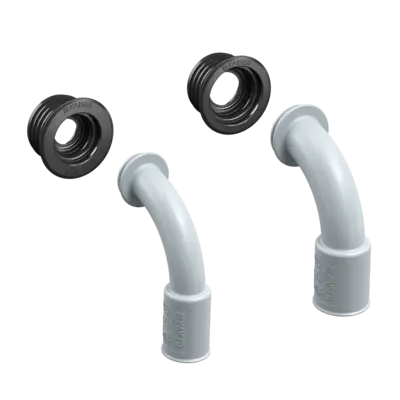
    • Conduit transition elements and wall-floor transition units
      These facilitate the reliable and airtight routing of electrical conduits and are designed to avoid damage during panel transport and installation. 
    • Sustainability
      Timber construction supports sustainability goals by reducing CO2 emissions and achieving a good energy balance.
AGRO Wood System
Brochure
AGRO Wood System

Electrical installations in factory production, timber construction and modular construction

10.2 MB
AGRO Wood System

Example of installation for Quickbox® Wood 4445.01, 4445.02 & 4445.03

  • Before installation, cut off the positioning element and keep it for future use.
  • The units can be combined and used as required.
  • The upper wooden sheet can be attached. At this stage, the boxes are not yet flush with the upper wooden sheet and...
  • ... so the boxes must be pulled up using a suitable tool.

Example of installation for Junction Box Wood 4441.01

  • Before installation, cut off the positioning element. Then insert the junction box Wood into the properly dimensioned hole ...
  • … and tighten the integrated screws counterclockwise.
  • Alternatively, screw the positioning element in place at the desired location, and either mount the junction box directly on it or, if necessary to bridge a height gap, cut a piece of conduit to the desired length ...
  • ... and place the conduit on the positioning element before mounting the junction box Wood on the conduit.

Example of installation for Wall and Floor/Ceiling Junction Wood 4442.01

  • For flush mounting, the external plate must be broken off with pliers so that the element does not protrude from the prefabricated panel.
  • Push a conduit through the hole from the rear and “click” it into the junction element so that it is held in place.
  • The junction elements can be used for either wall transitions or for floor/ceiling transitions. In both cases they facilitate easy and reliable cabling.
  • Click the conduit into place and fill the structural element with the appropriate material.

Example of installation for Wall-Floor Transition Unit Wood 4443.01

  • Nail, screw or staple the transition unit Wood to the inside surface of a prefabricated element.
  • Click the conduits into place. The conduit connection points are designed to hold the conduits in place and are numbered.
  • Before connecting the conduits, attach cover paneling as required.
  • The curved conduit entries enable cables to be pulled through easily and reliably.