
















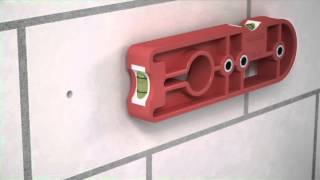
Drilling template

recommendations

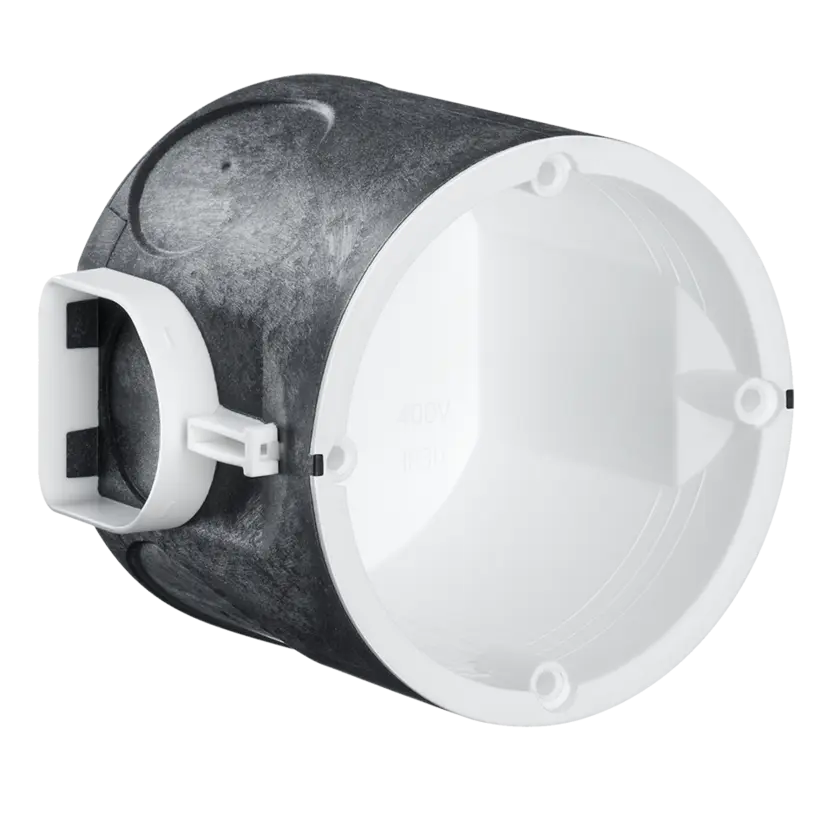
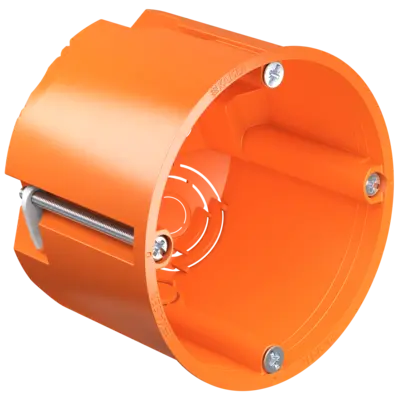
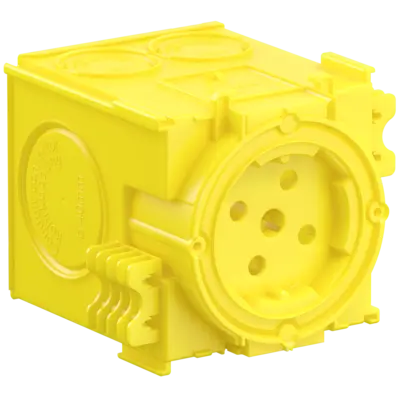
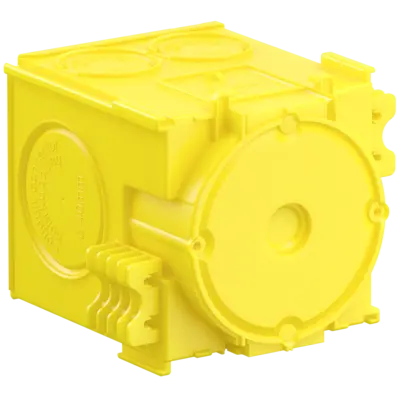
UP¹ ECON® Fix one-gang box
Artikel-No. 1055-26
  • More volume than conventional one-gang boxes
  • With quick fixing for installation without plaster
  • With 4 x 3 screw domes
  • Side-neutral combination
  • Many through-wiring possibilities
  • Standardised combination distance 71 mm
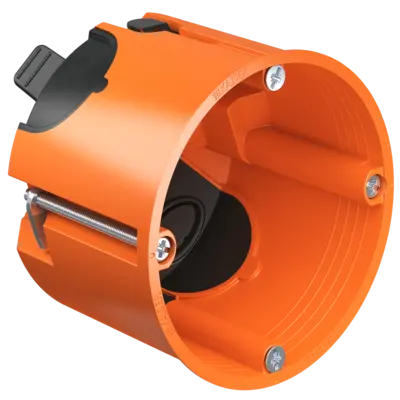
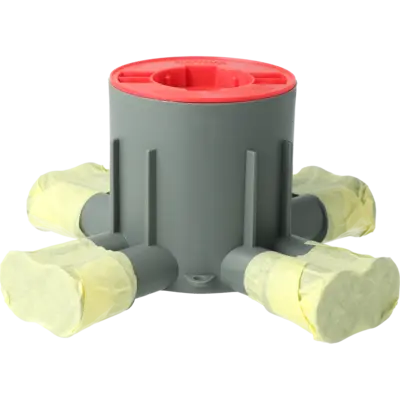
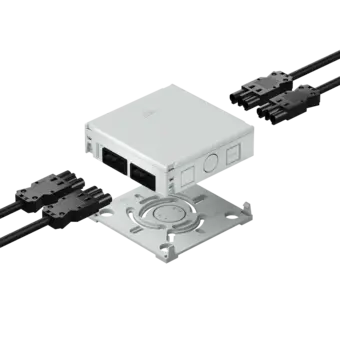
UP¹ ECON® Fix electronics box
Artikel-No. 1068-26
  • With quick fixing for installation without plaster
  • With 4 x 3 screw domes
  • Side-neutral combination
  • Many through-wiring possibilities
  • Standardised combination distance 71 mm
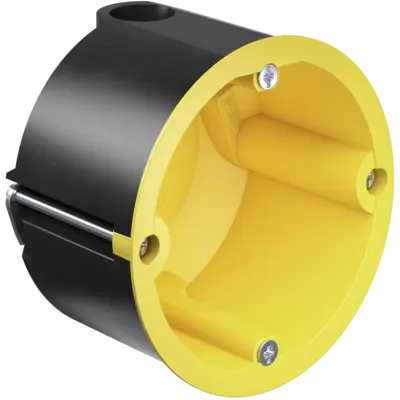
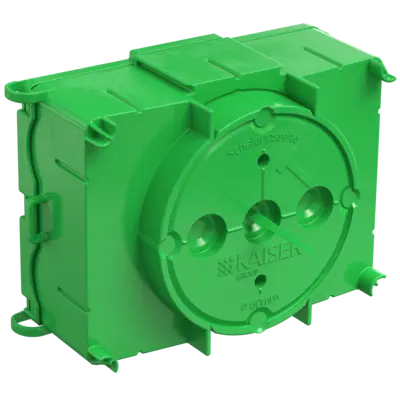
UP¹ ECON® Fix two-gang junction box
Artikel-No. 1656-26
  • With quick fixing for installation without plaster
  • With 4 x 3 screw domes
  • Side-neutral combination
  • Many through-wiring possibilities
  • Standardised combination distance 71 mm

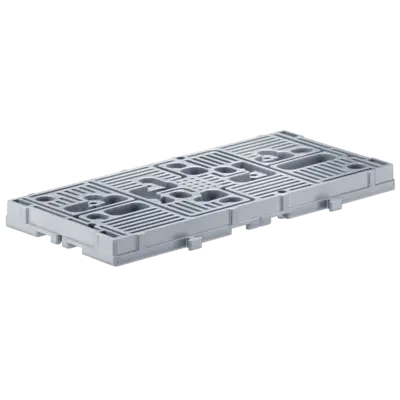
Drilling template

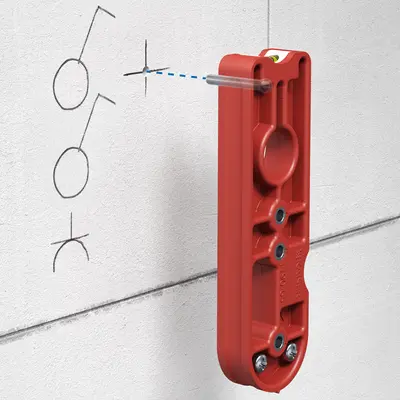
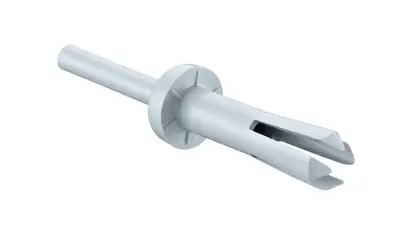
Drilling template for exact positioning of the centring holes for creating installation openings in masonry. The drilling template can be used to reliably and precise to create vertical or horizontal combination distances. This ensures that box combinations and subsequent switches and connectors can be professionally installed without reworking.
  • Drilling template for exact marking of the centering hole
  • For creating installation openings at the exact distance
  • Suitable for masonry and drywall construction
  • Vertical and horizontal application possible
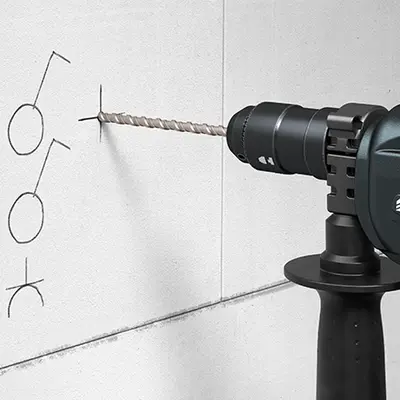
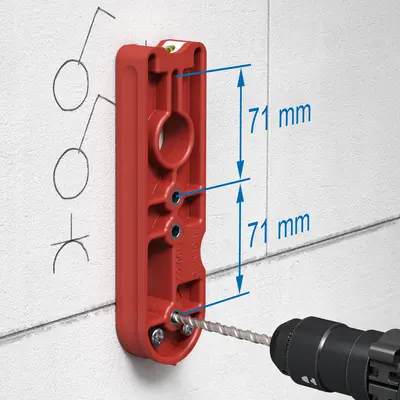
Installation – centre distance 71 mm

Drill the first hole Ø 6 mm at the intended position.
Position and secure the drilling template by inserting the guide pin.
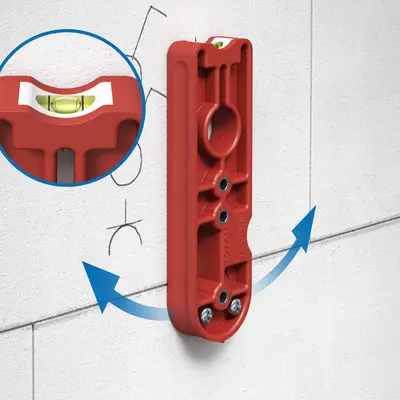
Align the drilling template horizontally or vertically using the integrated spirit level.
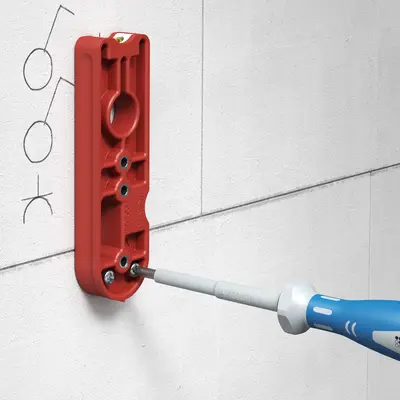
Secure the drilling template further using two fixing screws.
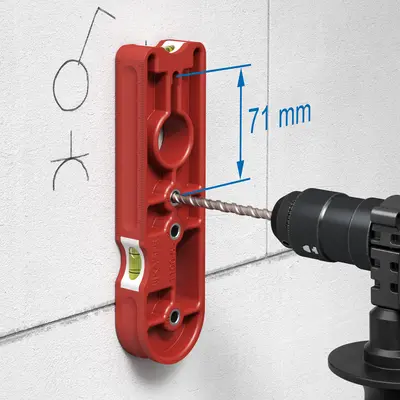
Drill the first centring hole through the guide hole in the drilling template at a distance of 71 mm.
For a 3-gang combination, an additional centring hole can be drilled.
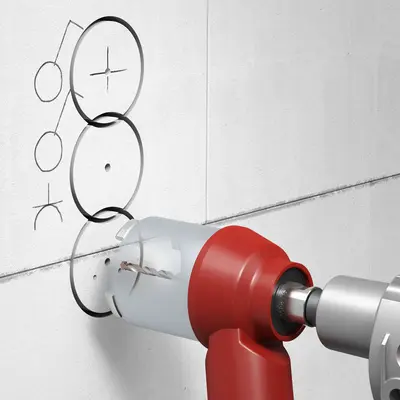
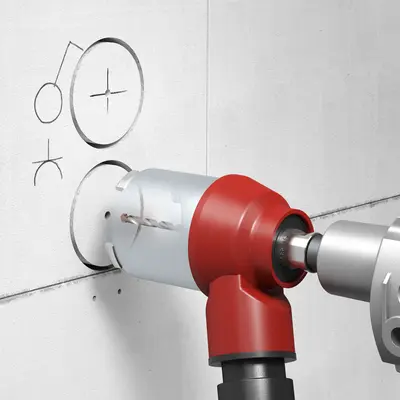
The centring holes created serve as a precise guide for the diamond core bit.
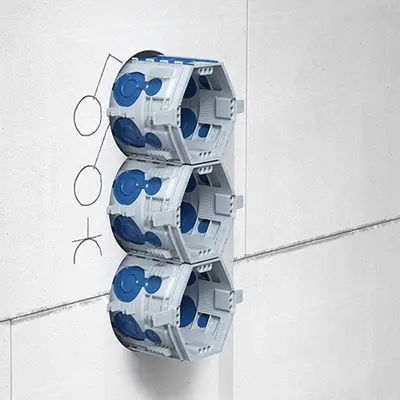
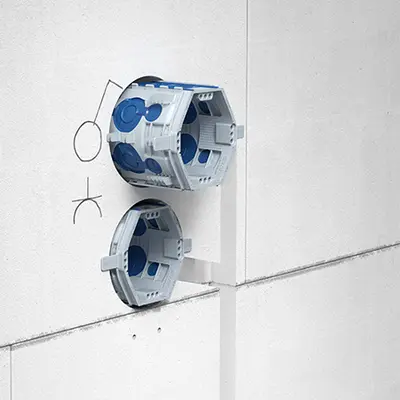
Insert the flush-mounted boxes.

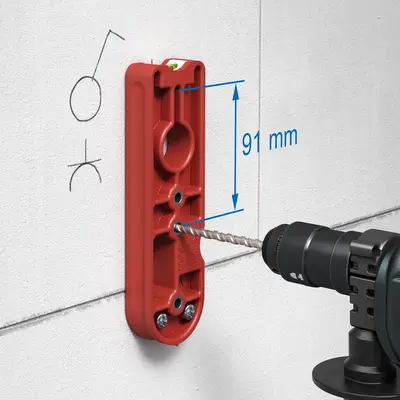
Installation – centre distance 91 mm

Steps 1-4 are identical to the installation of a 71 mm hole.
Drill the first centring hole through the guide hole in the drilling template at a distance of 91 mm.
The centring holes serve as a precise guide for the diamond drill bit.
Insert the flush-mounted boxes.
The heart of every installation. - The KAISER box.
Flyer

The heart of every installation. - The KAISER box.

Designed by craftsmen, made by KAISER!

UP¹ ECON® Fix one-gang box
Artikel-No. 1055-26
  • More volume than conventional one-gang boxes
  • With quick fixing for installation without plaster
  • With 4 x 3 screw domes
  • Side-neutral combination
  • Many through-wiring possibilities
  • Standardised combination distance 71 mm
UP¹ ECON® Fix electronics box
Artikel-No. 1068-26
  • With quick fixing for installation without plaster
  • With 4 x 3 screw domes
  • Side-neutral combination
  • Many through-wiring possibilities
  • Standardised combination distance 71 mm
UP¹ ECON® Fix two-gang junction box
Artikel-No. 1656-26
  • With quick fixing for installation without plaster
  • With 4 x 3 screw domes
  • Side-neutral combination
  • Many through-wiring possibilities
  • Standardised combination distance 71 mm